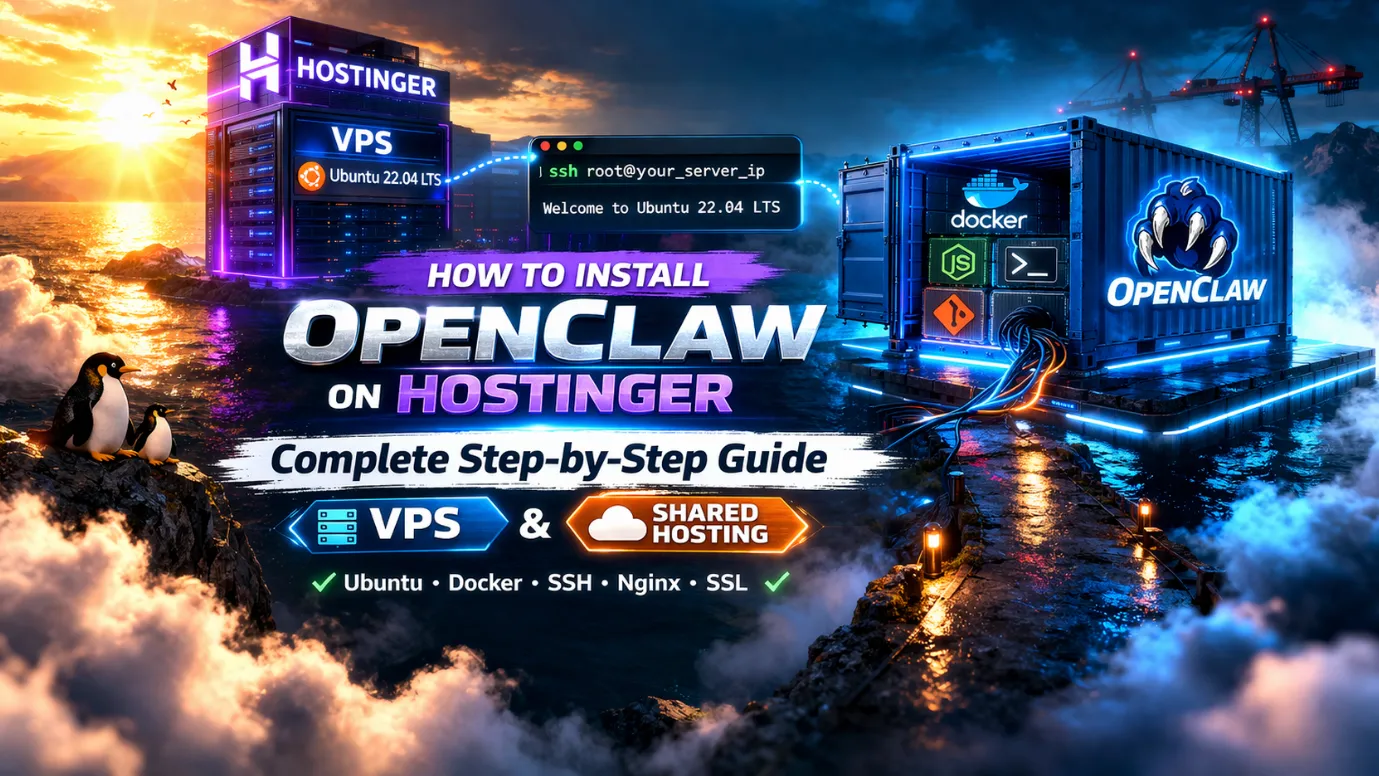
How to Install OpenClaw on Hostinger VPS: Step-by-Step Tutorial
Prerequisites
Before starting, ensure you have:
- A Hostinger VPS account (KVM 2 or higher plan recommended for OpenClaw: 2 vCPU, 8 GB RAM, 100 GB NVMe).
- An API key from a supported LLM provider (Anthropic/Claude, OpenAI, Gemini, or Grok).
- Basic familiarity with web dashboards and copying tokens.
- Optional: Access to messaging apps like Telegram or WhatsApp for connecting your AI assistant.
Note: OpenClaw is a self-hosted personal AI assistant that runs in Docker and can perform real tasks via messaging platforms. Hostinger provides a pre-configured Docker template for quick deployment.
Step 1: Set Up Your Hostinger VPS
- Log in to your Hostinger hPanel.
- Go to the VPS section and click Manage on your server (or order a new one via the OpenClaw VPS page).
- If using a new VPS, select the KVM 2 plan or higher and choose a server location close to you.
- Complete the purchase and wait for the VPS to be provisioned (usually a few minutes).
Once ready, the server will show as active in hPanel.
Step 2: Deploy OpenClaw Using Docker Manager
Hostinger offers a one-click Docker template for OpenClaw:
- In hPanel, navigate to your VPS management dashboard.
- Select Docker from the sidebar (or Docker Manager).
- Go to the Docker Catalog or search for OpenClaw.
- Click Deploy next to the OpenClaw template.
- Review the pre-filled settings (Hostinger handles dependencies automatically).
- Click Deploy again to launch the container.
The deployment typically completes in under a minute. You’ll see the OpenClaw container listed and running.
Step 3: Access the OpenClaw Gateway and Save Your Token
- In the Docker Manager, locate the running OpenClaw container.
- Note the exposed port (usually shown in the container details; often 3000 or similar—check the port mapping).
- Find the OpenClaw Gateway Token displayed in the container logs or dashboard. Copy and store it securely (use a password manager).
Example command to check container details (if accessing via SSH):
docker ps
Expected output will list your OpenClaw container with port mappings like 0.0.0.0:XXXX->3000/tcp.
Step 4: Configure Firewall Rules
To access the dashboard externally:
- In hPanel VPS management, go to Firewall or Networking.
- Add a new rule:
- Action: Accept
- Protocol: TCP
- Port: The port from Step 3 (e.g., 3000)
- Source: Anywhere (or restrict to your IP for security)
- Save and apply the rule.
Step 5: Access the Dashboard and Add Your LLM API Key
- Open a browser and go to
http://YOUR_VPS_IP:PORT(replace with your actual VPS IP and port). - Enter the Gateway Token to sign in.
- In the configuration form:
- Paste your Anthropic (or OpenAI/Gemini/Grok) API key.
- Choose your preferred model.
- Save the settings.
The dashboard will confirm the connection. Your AI assistant is now powered by the LLM.
Step 6: Connect Messaging Platforms
OpenClaw supports Telegram, WhatsApp, and others:
- In the dashboard, go to Incoming Identity or messaging setup.
- For Telegram:
- Create a bot via BotFather and get the token.
- Enter it in OpenClaw settings.
- Test by sending a message like “Hello” to your bot.
The assistant should respond and be ready for tasks.
Common Issues & Troubleshooting
- Container not starting: Check logs in Docker Manager (
docker logs container_id). Ensure sufficient RAM (at least 8 GB recommended). - Port not accessible: Verify firewall rules and that the port is correctly mapped in Docker.
- API key errors: Double-check the key format and that billing is enabled on your LLM provider account.
- Token lost: Redeploy the container or check initial setup logs to regenerate/display the token.
- High resource usage: Monitor VPS metrics in hPanel. Upgrade plan if running complex skills.
- Deployment fails: Ensure the VPS OS is compatible (Hostinger’s template handles this; switch to Docker template if needed).
If issues persist, restart the container via Docker Manager or consult Hostinger support.
Next Steps
- Add skills: Explore ClawHub in the dashboard to enable web browsing, email, calendar, and automation tools.
- Secure your setup: Change default passwords, restrict firewall access, and avoid running as root.
- Test tasks: Send commands via Telegram like “check my inbox” or “reschedule my meeting”.
- Update OpenClaw: Use Docker Manager to pull latest images when available.
- Scale up: Connect multiple messaging channels or integrate with local tools for advanced automations.
Your 24/7 personal AI assistant is now live on Hostinger. Experiment with tasks to unlock its full potential!